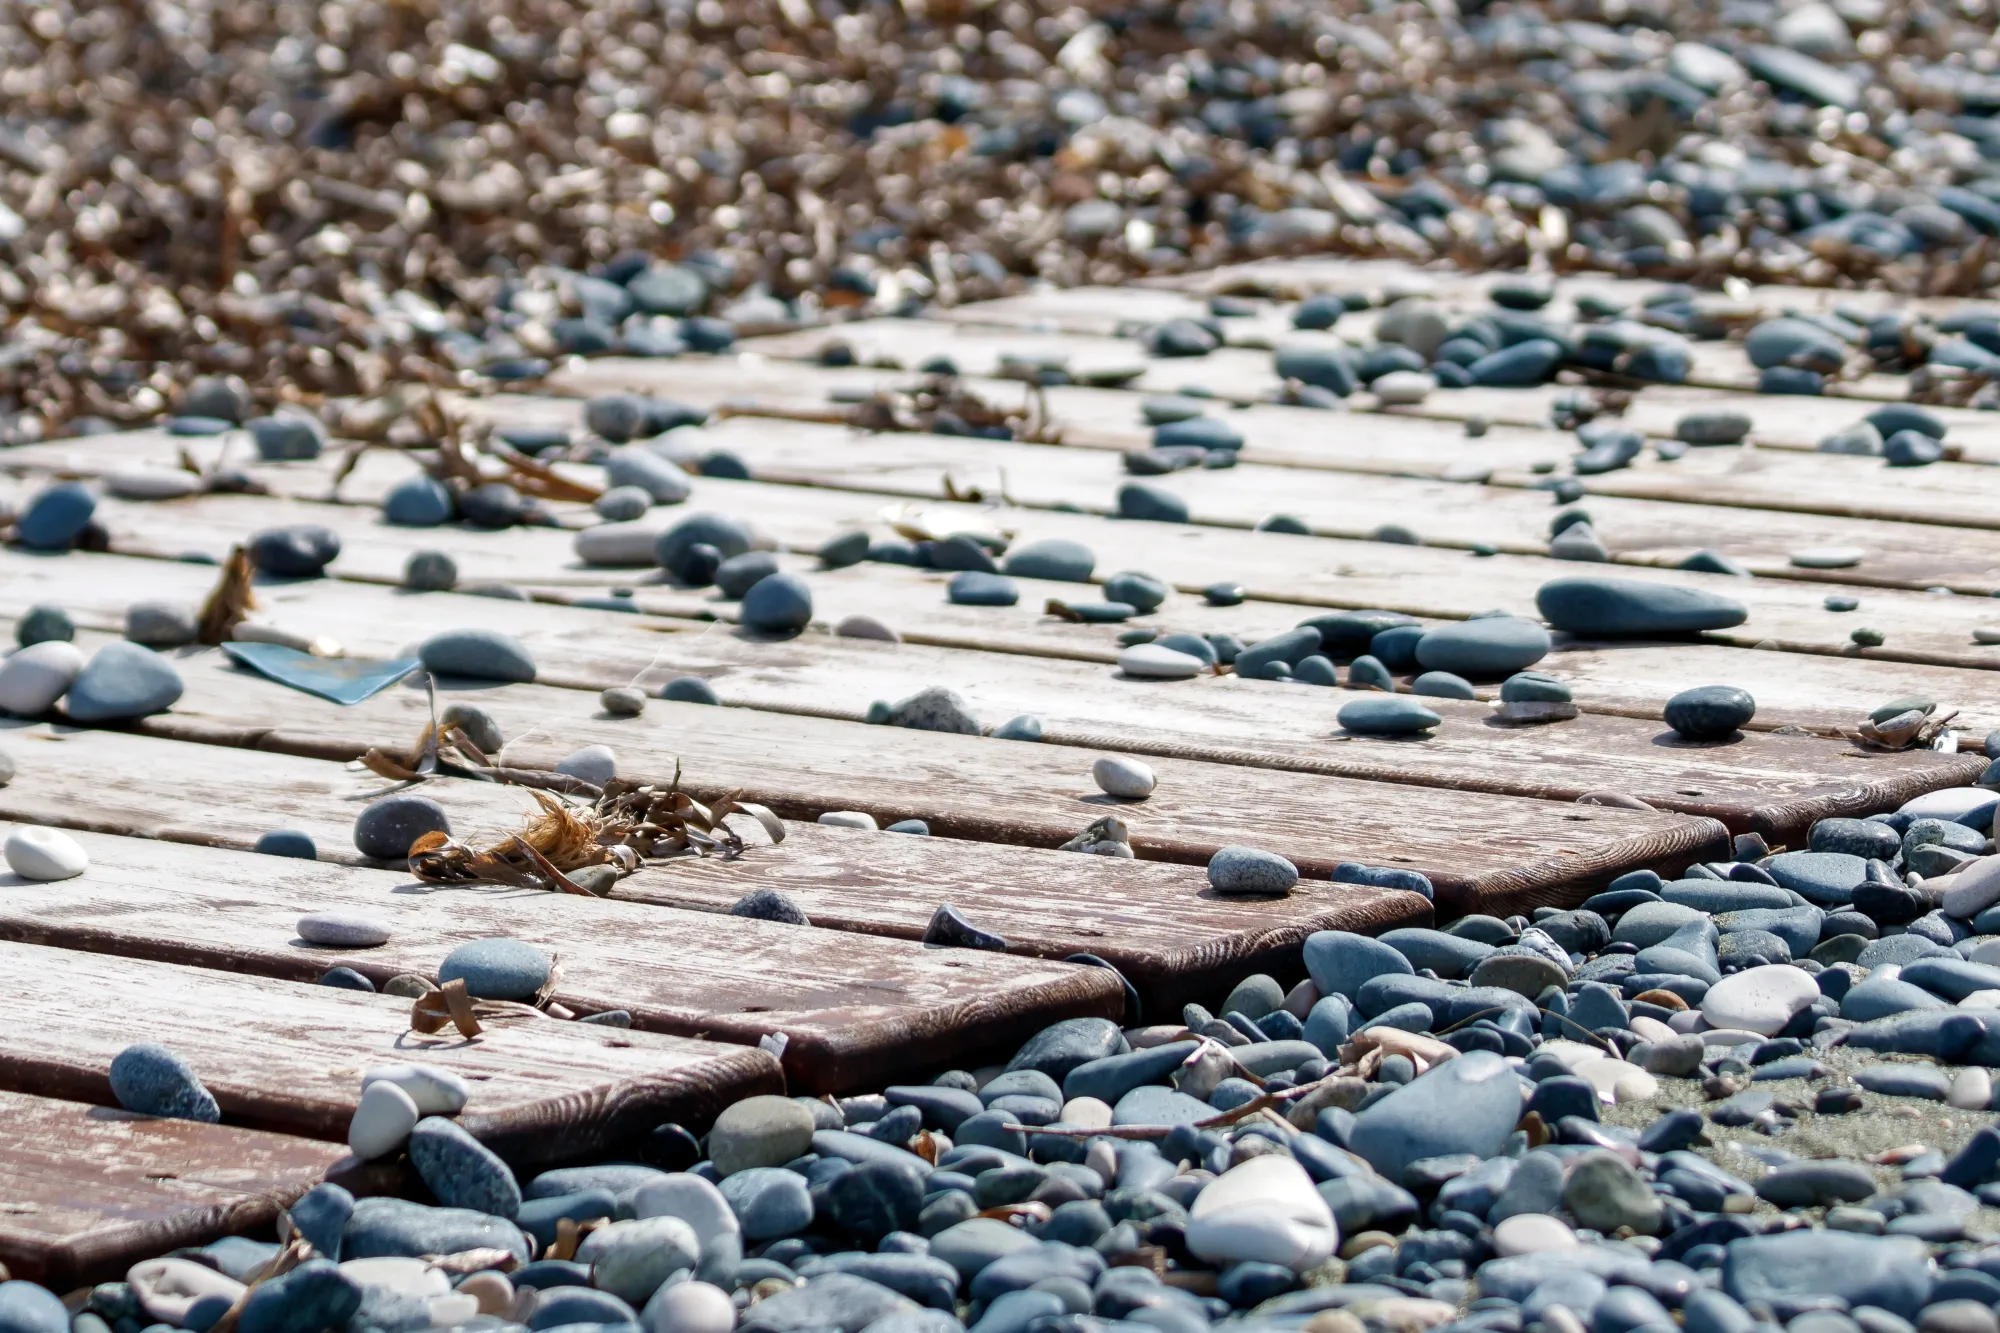
How to Use GravelGlue to Keep Your Garden Gravel in Place
Maintaining a neat and stable gravel garden can be challenging, especially when the gravel tends to shift or scatter over time. Fortunately, GravelGlue offers a simple and effective solution to keep your garden gravel securely in place. In this guide, we’ll walk you through the process of using GravelGlue, so your gravel garden remains pristine and low-maintenance.
Why Use GravelGlue?
GravelGlue is a specially formulated binder that is perfect for stabilizing loose gravel in garden paths, driveways, and decorative areas. Here are the key benefits of using GravelGlue:
Superior Bonding: GravelGlue creates a strong bond between individual gravel pieces, preventing them from shifting or being displaced by foot traffic or weather conditions.
Easy Application: Designed with DIY enthusiasts in mind, GravelGlue is easy to apply, requiring no special tools or skills.
Long-Lasting: Once cured, GravelGlue provides a durable surface that can withstand heavy use and adverse weather, ensuring your gravel stays in place for years to come.
Eco-Friendly: This water-based product is safe to use around plants and other landscaping features.
Materials Needed:
-
GravelGlue
-
Clean and dry gravel
-
Watering can
-
Rake or trowel
Step-by-Step Guide to Applying GravelGlue
Prepare the Gravel Area: Begin by ensuring the gravel area is clean, dry, and free from debris. If necessary, rake the gravel to create a smooth and even surface.
Apply the GravelGlue: Pour the GravelGlue into a watering can with a fine spout. This will help in applying an even layer of the adhesive over the gravel. Evenly pour GravelGlue over the gravel surface, making sure to cover the entire area. Avoid excessive application to prevent pooling, as this can lead to uneven bonding.
Distribute and Set: After applying the GravelGlue, use a rake or trowel to gently distribute the adhesive and ensure it penetrates between the gravel pieces. This step enhances the bonding process, creating a more stable surface. Allow the GravelGlue to cure. Depending on the weather, curing can take between 24 to 48 hours. During this time, avoid disturbing the gravel to ensure a strong bond.
Inspect and Maintain: Once the GravelGlue has fully cured, inspect the area for any loose gravel. If needed, apply an additional coat of GravelGlue to reinforce weak spots. Regular maintenance is minimal, but occasional cleaning and reapplication every few years can keep your gravel garden in top condition.
Conclusion
Using GravelGlue to stabilise your garden gravel is an easy and effective way to maintain a beautiful and functional outdoor space. Whether you’re working on pathways, decorative areas, or even driveways, GravelGlue provides the durability and simplicity needed to keep your gravel in place. Enjoy a low-maintenance garden with the confidence that your gravel will stay exactly where you want it, season after season.
