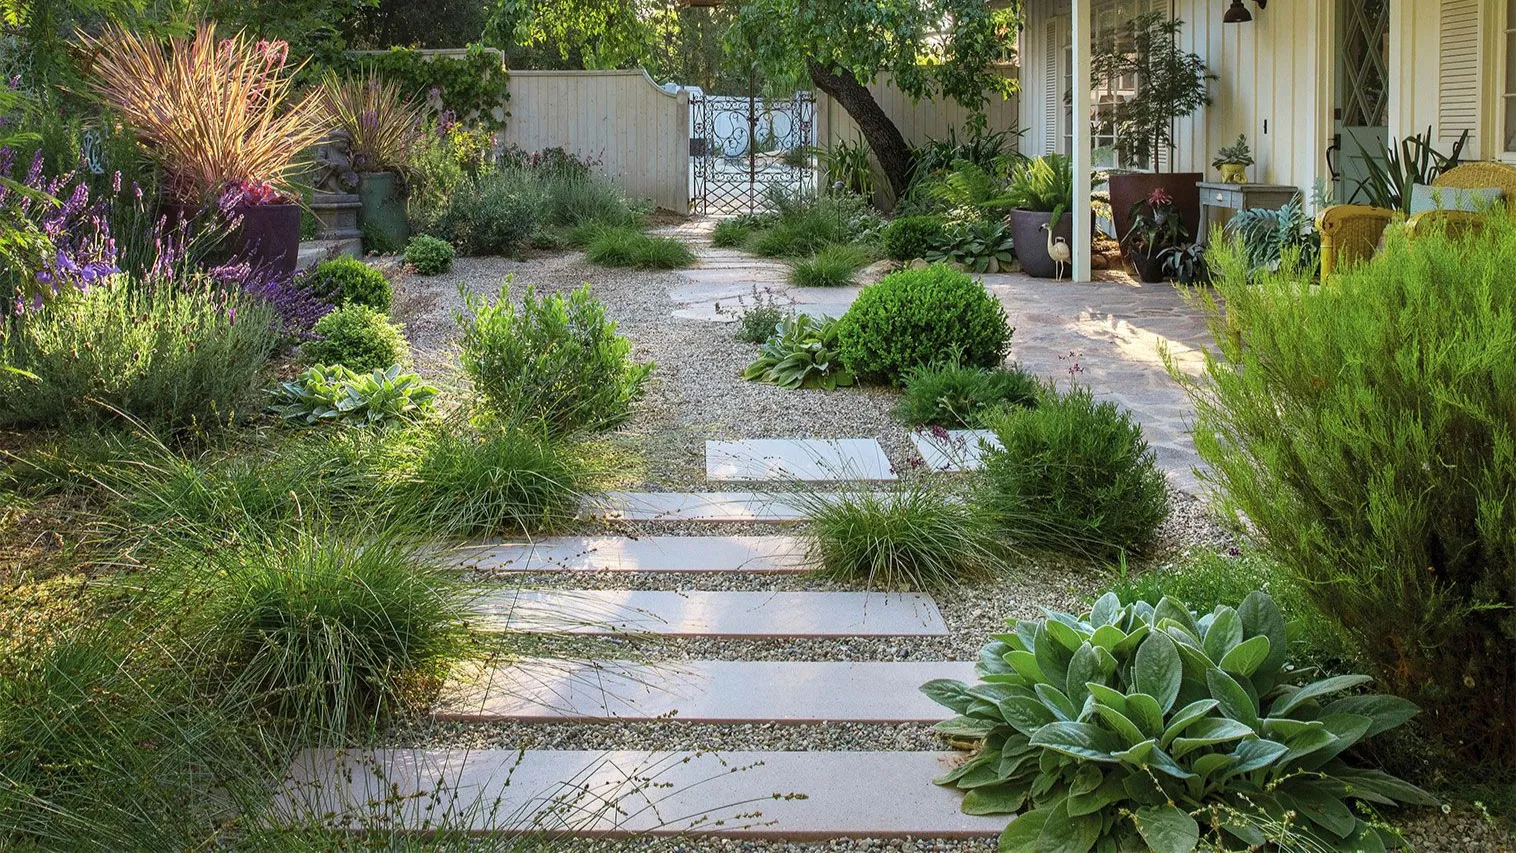
Garden Transformation: Using GravelGlue for a Neat Finish
Transforming your garden into a beautiful, low-maintenance space often comes down to how well you can manage and stabilise the different elements, particularly gravel. Gravel is a popular choice for pathways, patios, and decorative areas, but keeping it in place can be challenging. This is where GravelGlue comes in, offering a solution that not only secures gravel but also gives your garden a neat and polished finish.
In this blog, we’ll explore how to use GravelGlue effectively by breaking down the three primary methods of application: Mix It, Pour It, and Spray It.

Why Choose GravelGlue?
Before we dive into the methods, it’s important to understand why GravelGlue is a superior choice for your garden transformation. GravelGlue is designed to bond loose gravel together, creating a stable and durable surface that resists erosion, shifting, and weed growth. It’s easy to use, eco-friendly, and suitable for a variety of landscaping projects.
Mix It: The Mix It method is best for areas that need to withstand heavy foot traffic or where a more permanent solution is required, such as walkways. This method involves bonding the gravel throughout the entire depth of the layer, creating a solid and stable surface.
Mix GravelGlue with Gravel: Start by mixing GravelGlue with the gravel in a wheelbarrow or large container. Ensure the gravel is evenly coated with the adhesive.
Lay the Gravel: Once mixed, spread the gravel evenly across the area you want to stabilize. Use a rake to smooth out the surface and ensure an even distribution.
Cure: Allow the mixture to cure for 24 to 48 hours. This method creates a durable surface that can handle heavy traffic and will remain stable over time.
Pour It: The Pour It method is ideal for areas that require good drainage, such as driveways or paths in areas prone to heavy rain. This method allows water to seep through the gravel while keeping it securely in place, preventing erosion and pooling.
Steps for Pour It Application:
Prepare the Base: Start by laying a base of gravel. Make sure the base is level and well-compacted.
Apply GravelGlue: Pour GravelGlue onto the gravel, ensuring even coverage. The adhesive will bond the gravel together while allowing water to pass through the gaps.
Cure: As with the other methods, allow the GravelGlue to cure for 24 to 48 hours. The result is a stable, permeable surface that resists erosion and maintains excellent drainage.
Spray It: The Spray It method is ideal for decorative gravel areas where you want to secure the top layer of gravel without affecting the layers beneath. This method is perfect for garden paths, flower beds, and areas around plants where you want to maintain a clean, well-defined look.
Steps for Spray It Application:
Prepare the Area: Start by cleaning the area where you want to apply GravelGlue. Ensure the gravel is dry and free from debris for the best results.
Apply GravelGlue: Pour GravelGlue into a garden sprayer or watering can. Evenly apply the adhesive over the surface of the gravel, making sure to cover all areas thoroughly.
Cure: Allow the GravelGlue to cure for 24 to 48 hours. During this time, avoid disturbing the area to ensure a strong bond. Once cured, the top layer of gravel will be locked in place, giving your garden a neat finish.
Using GravelGlue in your garden projects is a smart way to achieve a neat, low-maintenance finish that enhances the beauty and functionality of your outdoor space. Whether you’re securing decorative gravel with Spray It, stabilizing a pathway with Mix It, or creating a permeable driveway with Pour It, GravelGlue offers the versatility and strength needed for a lasting transformation.
By choosing the right application method for your specific needs, you can ensure that your gravel stays in place, looks great, and requires minimal

