
DIY Guide: How to Stabilise Gravel Paths with GravelGlue
Creating a stable and long-lasting gravel path doesn’t have to be a complex or expensive project. With GravelGlue, you can achieve professional results with minimal effort. In this guide, we’ll walk you through the steps to stabilise your gravel paths using GravelGlue, ensuring they remain firm and attractive for years to come.
Why Choose GravelGlue?
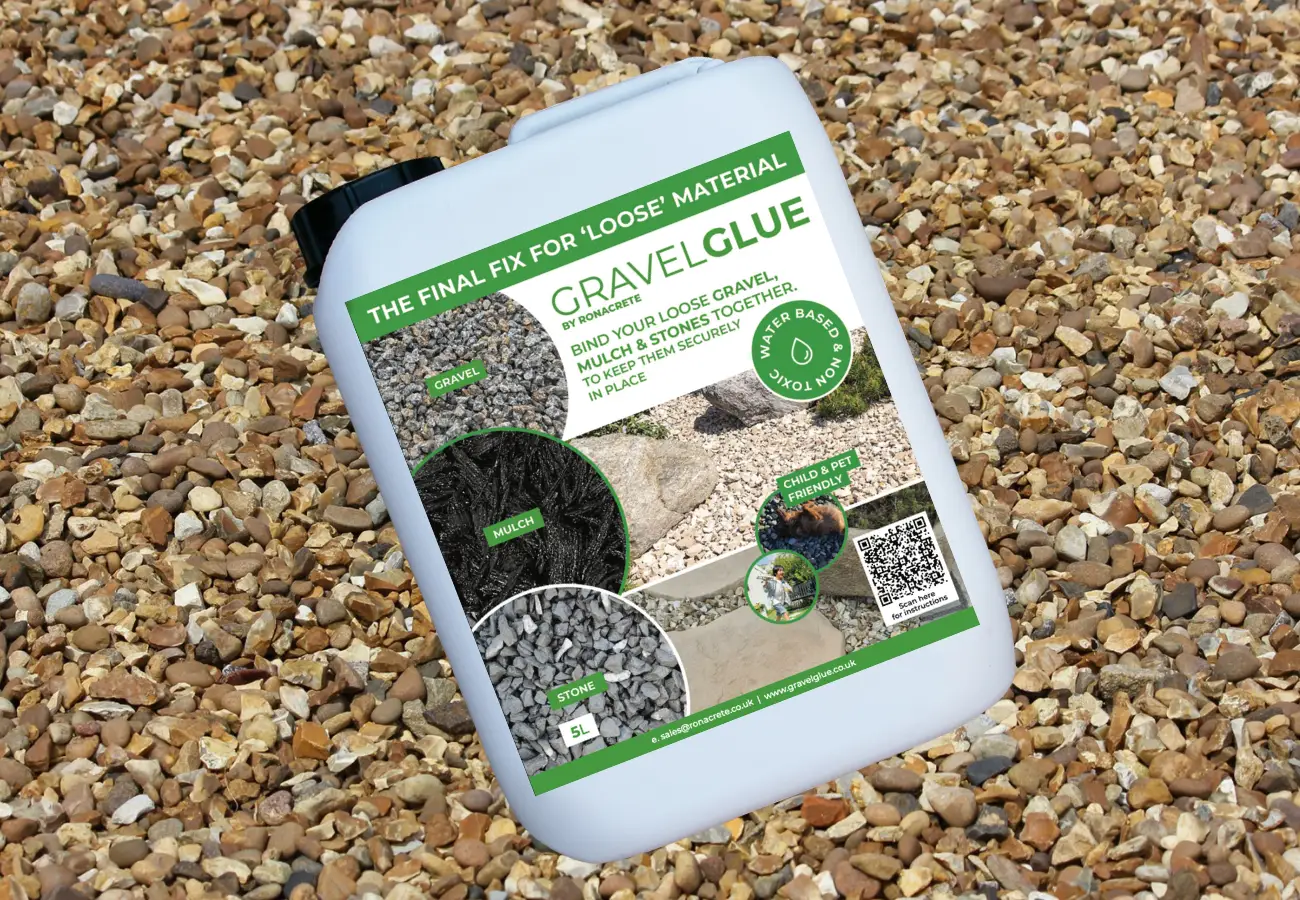
GravelGlue is a versatile, high-performance bonding agent specifically designed to stabilise loose gravel. It works by locking individual gravel pieces together, forming a solid, durable surface that resists erosion, weed growth, and shifting. Here are some of the key benefits:
Easy to Use: GravelGlue is straightforward to apply, making it perfect for DIY enthusiasts. Whether you’re creating a new path or refreshing an existing one, the process is simple and efficient.
Versatile Application: It can be used on a variety of surfaces, including pathways, driveways, and decorative garden areas.
Durable: Once cured, GravelGlue forms a strong bond that can withstand heavy foot traffic, weather conditions, and general wear and tear.
Environmentally Friendly: GravelGlue is a water-based solution, making it safe for use in your garden and around plants.
Materials Needed:
-
GravelGlue.
-
Clean, dry gravel.
-
Watering can.
-
A trowel or rake for spreading.
Step-by-Step Guide
Prepare the Pathway: Start by clearing the path area of any debris, weeds, or old gravel. If you’re working with an existing path, rake the gravel to ensure an even surface. Ensure that the gravel is dry before application, as moisture can affect the bonding process.
Apply GravelGlue: Pour the GravelGlue into a watering can with a fine nozzle. This will help distribute the glue evenly across the surface.
Starting at one end of the path, apply GravelGlue directly onto the gravel. Make sure to cover the entire surface, but avoid oversaturating. The goal is to lightly coat the gravel, ensuring that each piece is bonded without pooling the adhesive.
Spread and Set: Use a trowel or rake to spread the GravelGlue evenly and to work it deeper into the gravel layer. This will enhance the bonding strength. Once applied, allow the GravelGlue to set. The curing time can vary depending on the weather, but typically, it will take 24 to 48 hours to fully harden.
Final Touches: After the glue has cured, inspect the path for any loose areas. If needed, apply a second coat of GravelGlue to these spots.
Enjoy your newly stabilised gravel path!
Maintenance Tips
Gravel paths treated with GravelGlue require minimal maintenance. However, to keep your path looking its best:
Regular Cleaning: Sweep the path occasionally to remove dirt or debris.
Reapplication: Depending on traffic and weather conditions, you may need to reapply GravelGlue every few years to maintain the bond.
With GravelGlue, you can transform your loose, shifting gravel path into a stable, durable, and attractive feature of your garden. It’s a cost-effective, eco-friendly solution that makes DIY landscaping projects both easy and rewarding. Whether you’re upgrading your backyard or creating a new garden pathway, GravelGlue offers the strength and versatility you need for long-lasting results.